Today, I wanted to share with you a two-part car paint repair video tutorial. It will show you how professionals at the body shop repair major car paint damage.
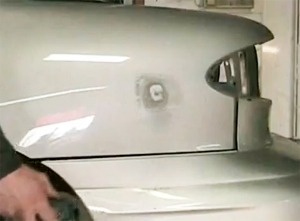
The car had a deep scratch and a small dent. In part 1 you will learn how to prepare the area for primer and how to prime it (be ready for a lot of sanding). Video Tutorial Part 2 demonstrates how to apply spray paint and clear coat.
Some of the tools used in the video are expensive, but there are cheaper options you can use.
Body shops can charge hundreds of dollars for a simple repair like this. But you can do this repair yourself for under $150. Watch the video and read my comments below.
Items you will need for this part:
- Assorted Wet/Dry Sandpaper – This pack includes 5 sheets of assorted sandpaper (1 sheet each of 180, 320, 600, 1000, and 1500) and can be used for sanding primer, clear coats, and automotive paints.
- Sandpaper: 40 grit and 80 grit – This is rough sandpaper that is used for sanding body filler.
- Body filler
- Plastic Spreaders
- Primer (aerosol spray)
- Auto masking tape
- Old newspapers
- Prep solvent – It removes oils, road grease, dirt, car wax, and other surface contaminants and also improves adhesion to the surface.
Do-It-Yourself Car Paint Repair – Part 1
Step 1: Cleaning
Start by cleaning the repair area from dirt, wax, and other contaminants. Wash it with water with a few drops of dishwashing soap. Follow it with prep solvent. The area should be clean and dry.
Step 2: Sanding
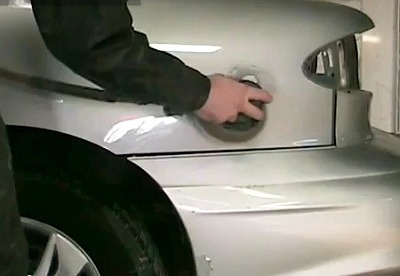
Sand the area. In the video, they are using a sanding machine with 80-grit sanding paper, but you can do it by hand. The goal is to prepare the area for body filler application by scuffing the surface so the filler will adhere properly.
Step 3: Body Filler
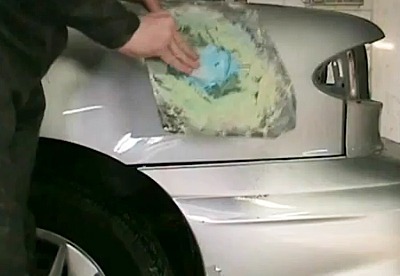
You need to apply body filler to even out the area. Try not to use more filler than necessary. Body filler comes with a hardener that needs to be mixed together before application.
Keep in mind, that you will have only a few minutes to apply it before it starts to harden. Apply the filler with a plastic spreader using smooth long strokes covering the entire area from side to side.
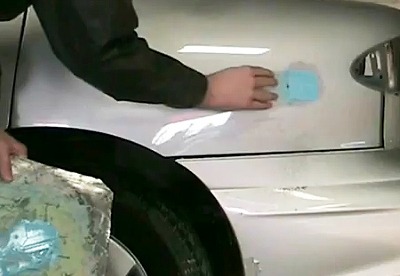
Step 4: Sanding Filler
After the filler is dry, sand it with 40 grit and then with 80 grit sanding paper.
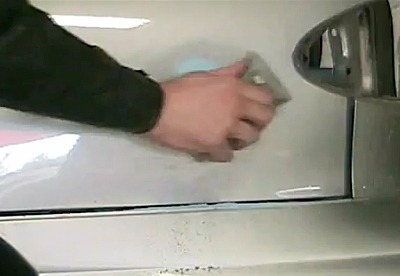
Step 5: Feathering
To make sure the area is smooth, sand the area around the damage. In the video, they are using P240 and the sanding machine, but you can do the same by hand with dry 180-grit sanding paper and then move to 320-grit.
Step 6: Backsanding
Continue sanding the area around the damage with 320-grit sanding paper.
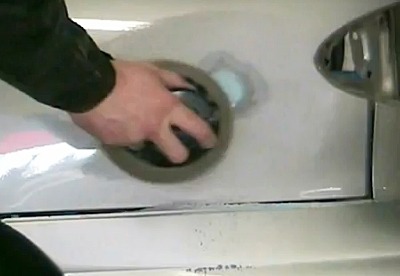
Step 7: Masking
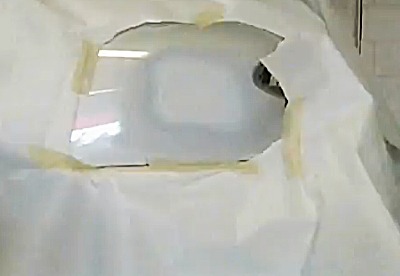
Now, that the surface is smooth we are ready for primer. Mask the area with some old newspapers and auto tape. Don’t use duct tape to avoid sticky residue.
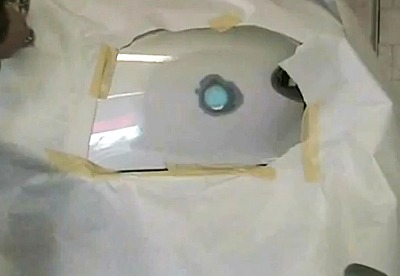
Step 8: Primer
In the video, they are using a professional spray gun that costs between $100 – $150. You can use a primer in a spray can the same way. Apply 3 coats of primer giving each coat enough drying time. Wait for 30 min before sanding the primer.
Step 9: Sanding Primer
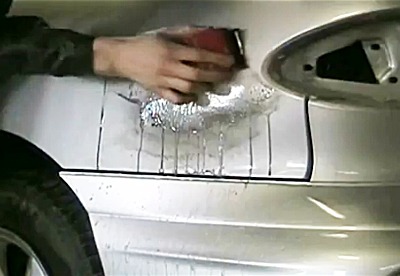
After the primer is completely dry, remove the masking paper. Sand it with 320-grit sandpaper. In the video, they’ve applied black shoe polish as a contrast material. You don’t have to do that.
For final primer sanding use wet/dry 600 sanding paper. Use a lot of water with a few drops of dish soap to make it more slippery. Keep checking the surface for smoothness with your fingers.
Step 10: Removing Overspray
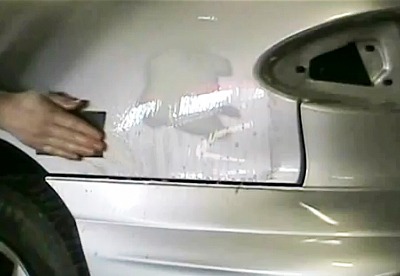
After applying primer you will have primer overspray around the damaged area that can be easily removed with 1,500 grit wet/dry sandpaper. Use a lot of water with some dish soap.
Do-It-Yourself Car Paint Repair – Part 2
This is the second video of the 2-part video tutorial on how to repair car paint yourself.
Usually body shops will charge hundreds of dollars for a simple repair. But after watching these videos and reading my comments, you will be able to do it yourself for under $150.
In this part, you will learn how to prepare an area for paint, mask properly, apply paint, and clear coat.
Items you will need for this part:

- Touch-up Paint (aerosol spray) – Custom paint matching your car
- Clear coat (aerosol spray)
- Masking tape
and Old newspapers
- Assorted Wet/Dry Sandpaper – This pack includes 5 sheets of assorted sandpaper (1 sheet each of 180, 320, 600, 1000, and 1500) and can be used for sanding primer, clear coats, and automotive paints.
- Meguiar’s Ultimate Compound – You can use any rubbing compound you like, just make sure it is clear coat safe. Meguiar’s Ultimate Compound is the best car scratch remover I’ve ever tried. It removes light-to-deep clear coat scratches, swirl marks, stains, and heavy oxidation in just a few minutes. It’s clear coat safe and inexpensive.
Some Optional Items:
- Aerosol Spray Trigger
– I put this item under optional items, however, I think it is a must-have when it comes to spray paint. It turns a spray aerosol can into a spray gun making it easier to apply the paint and clear coat.
- Applicator Pads – These pads are used to apply rubbing compound, polish, and wax.
- Tack cloth
- Meguiar’s Ultimate Polish – Use your favorite polishing compound. I like Meguiar’s Ultimate Polish because it uses diminishing abrasive technology, meaning the tiny abrasives break down gradually as you rub. The paint color will look bolder and brighter with a smooth, sleek shine. It is high quality, inexpensive, long-lasting, and clear coat-safe.
- Meguiar’s Tech Wax – Use your favorite wax. I like Meguiar’s NXT Generation Tech Wax. This product is amazing because not only does it give the deepest and clearest shine you’ve ever seen, but it also acts as a paint sealer giving your car long-lasting protection.
- Dual Action Sander/Polisher – I found a nice beginner polisher on Amazon for a reasonable price that will give you amazing results. There are a lot of professional polishers, but they cost over $200. This Black & Decker polisher got great customer reviews.
Step 11: Sanding
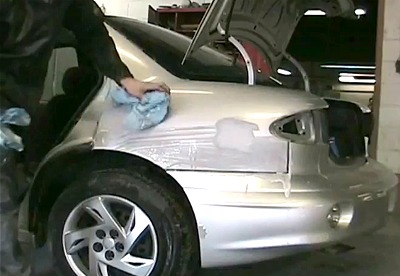
Even with a small paint damage, it is better to respray the whole panel. Start by lightly sanding the panel and not just the damaged area. In the video, they are using a sanding paste and a gold scotchbrite pad to clean the surface and prepare it for paint. You can just gently sand the area with use wet/dry 1,500 grit sanding paper.
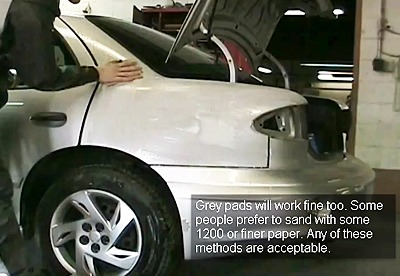
After sanding, clean the area and dry completely.
Step 12: Masking
Use old newspapers and auto tape to mask off the panel. Don’t use duct tape, it will save you money but will leave a sticky residue that is hard to remove. Auto masking tape costs only a few dollars.
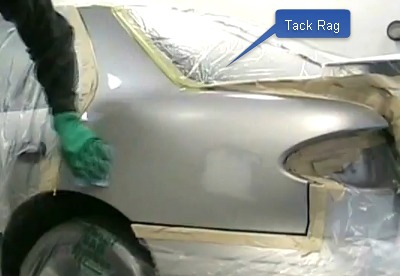
Step 13: Tack Rag
The tack cloth is slightly sticky. It will easily pick up small pieces of paint dust and debris left on the surface after sanding, but will not leave behind any residue.
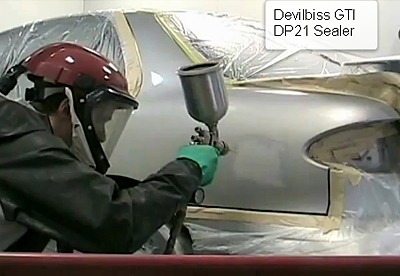
Step 14: Sealer
In the video, they are using sealer and a clear toner to fill minor sand scratches. Since you are doing it at home with limited resources, you can skip this part.
Step 15: Base coat
Spray a thin coat of paint holding the can 15 inches away from the surface. In the video, they are using an expensive spray gun, but you can just use a spray paint that comes in a can. To turn your can into a spray gun, use a plastic trigger.
The first coat should only cover the damaged area. Each coat should go further to blend it out. 3 base coats should be enough. Leave enough drying time between coats.
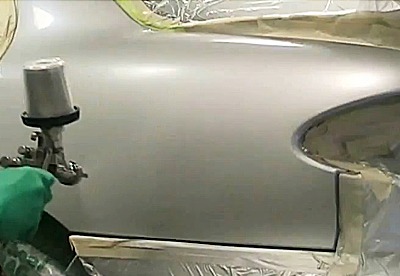
Step 16: Base Blend/Mist Coat
Lightly spray the rest of the panel to create a smooth color transition between the old and the new paint. Wait for 30 min before applying a clear coat.
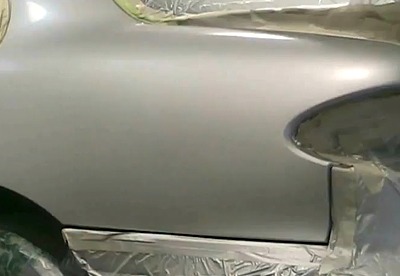
Step 17: Clear Coats
After the paint has dried completely, which depends on the paint you are using, apply a clear coat. In the video, they are using a spray gun, but if you want to save money, use a clear coat in a spray can and use a plastic trigger on top.
Hold the can 15 inches away from the surface and spray the full panel with a thin layer. Three clear coats should be enough. Don’t forget to give enough drying time for each layer.
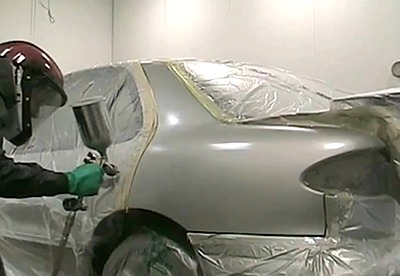
Step 18: Rubbing Compound
This step is not included in the video tutorial, but after the clear coat is dry, I like to apply a rubbing compound. Rubbing compound makes the area smoother and shinier and is also great for removing oxidation from your finish.
Wait for one day before applying the rubbing compound. Use an application pad to apply the product. Remove residue with a clean microfiber cloth.
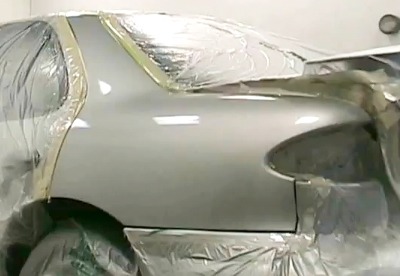
Step 19: Polishing
If you want to have the showroom shine, use the polishing compound. Rubbing compound just events the area and makes the color deeper. Wax does add some sine but it is mostly used for protecting the clear coat.
Polishing is what gives the surface its shine. You can apply the polishing compound by hand, but for professional results, you should use a Dual Action Polisher. I use it to apply rubbing compound, polisher, and wax.
Step 20: Wax
It takes about 30 days for the solvents in the paint to evaporate. That is why you should wait for 30 days before applying wax.
